
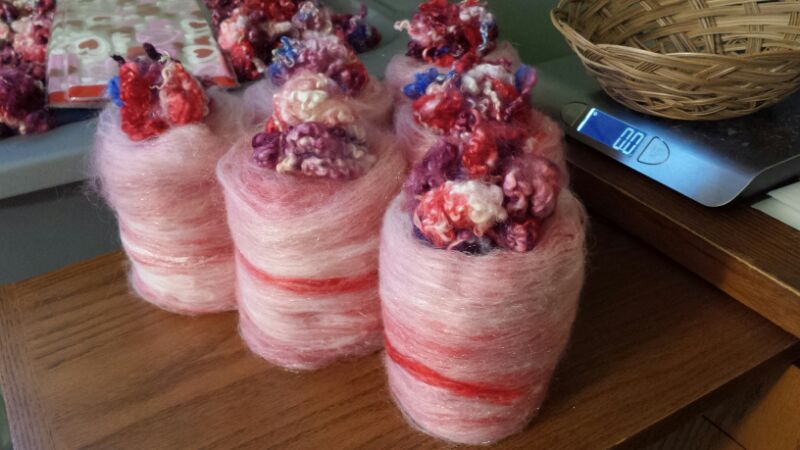
The Drying Racks
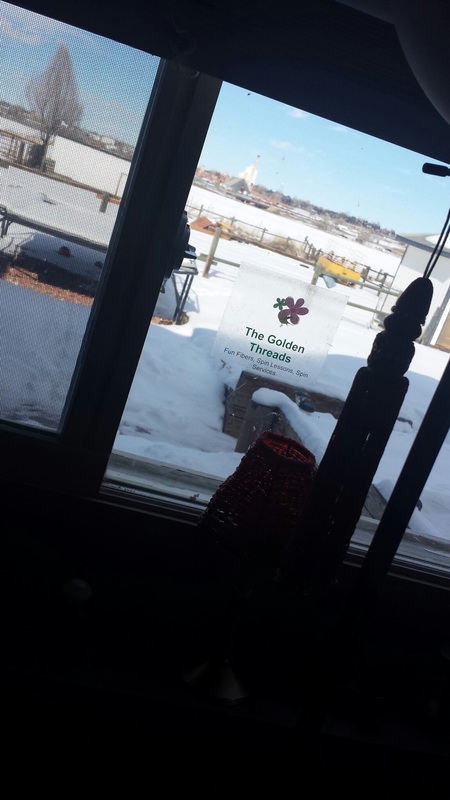
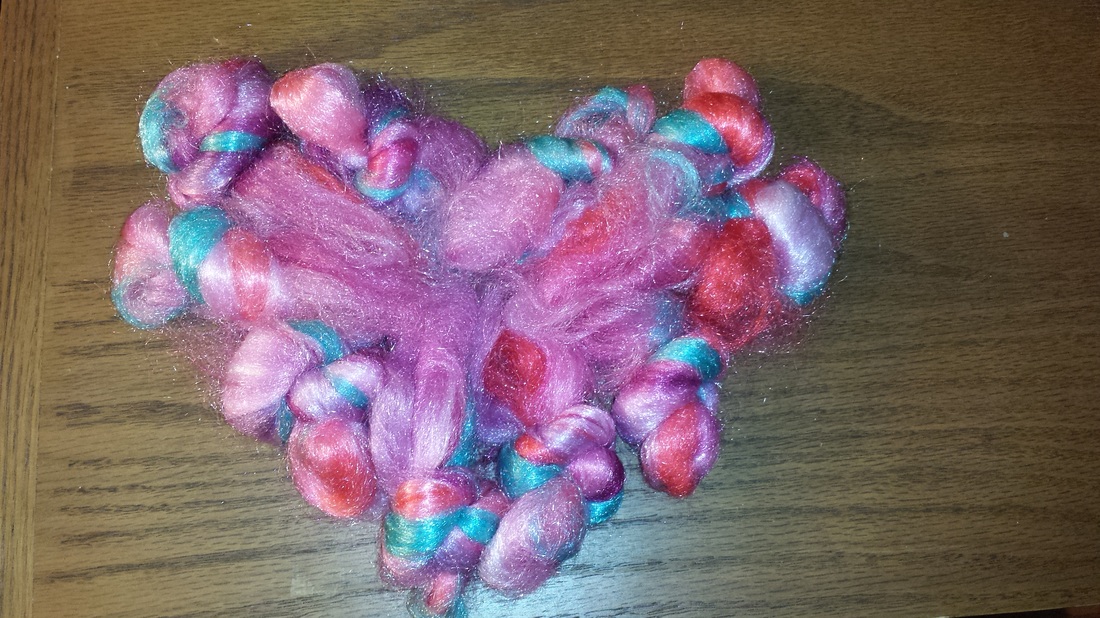
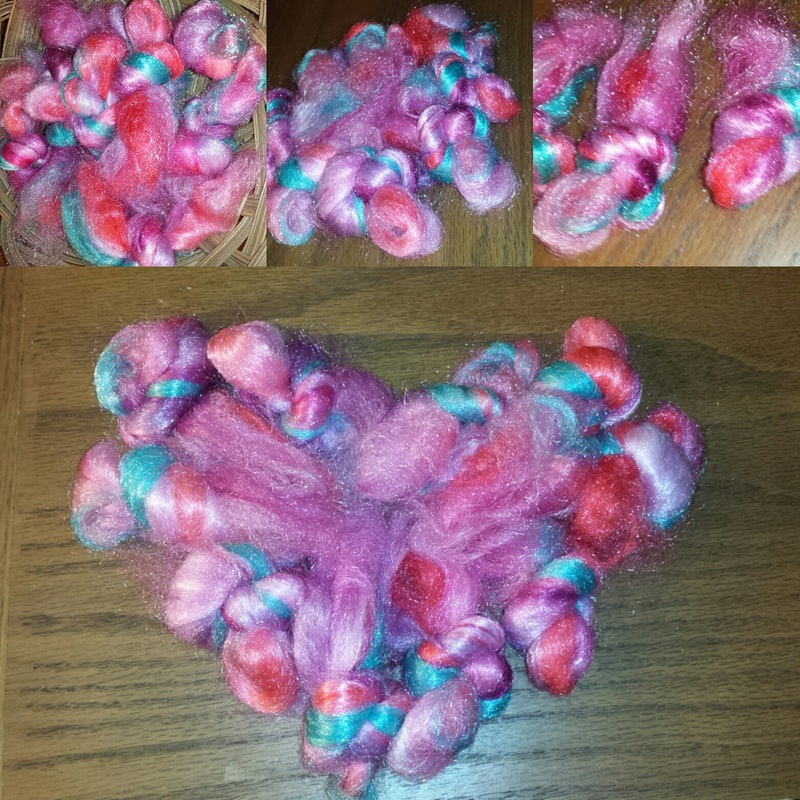
I was INSPIRED to write today's Blog Post. About to leave my Fiber Studio when I see this....and captured these photos!
Priceless!...
I was INSPIRED to write today's Blog Post. About to leave my Fiber Studio when I see this....and captured these photos!
Priceless!...
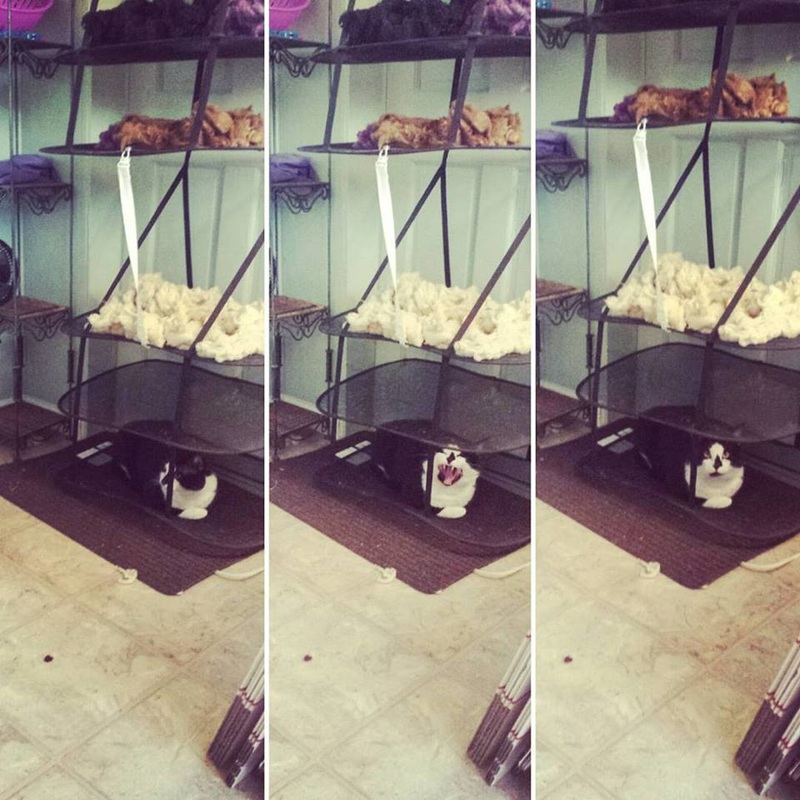
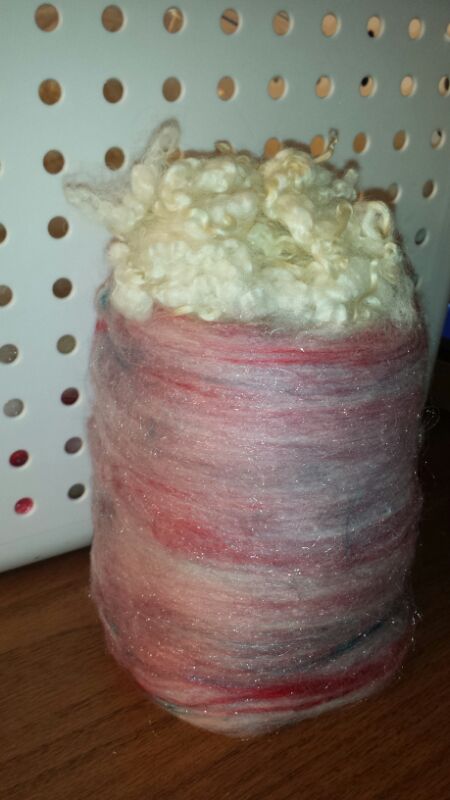
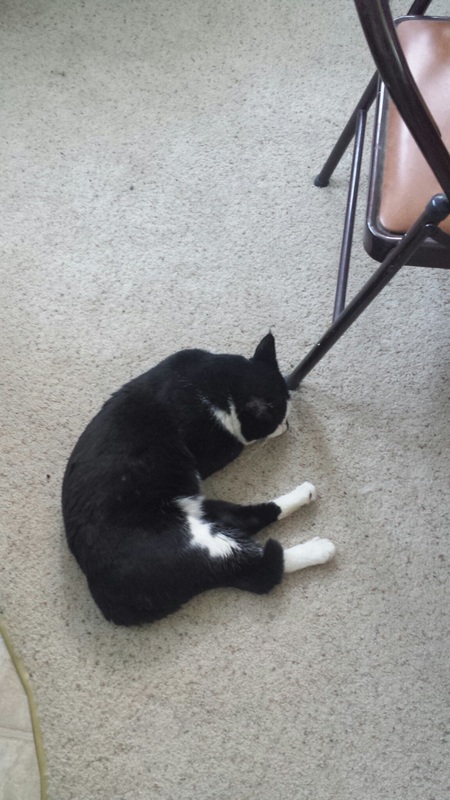
Look at this cat!
Meet SPOOK! His is my baby! Almost 2 years old. Raised his momma.. so he's been with me pretty much all his life! For the Fiber Lovers: He thinks it's his hammock!!!
My Little Guy has decided to hang out on the Drying Rack!!
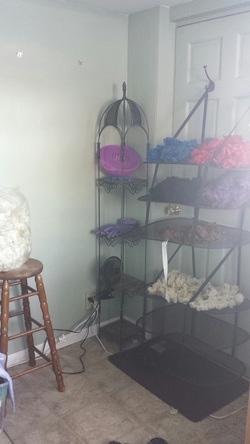
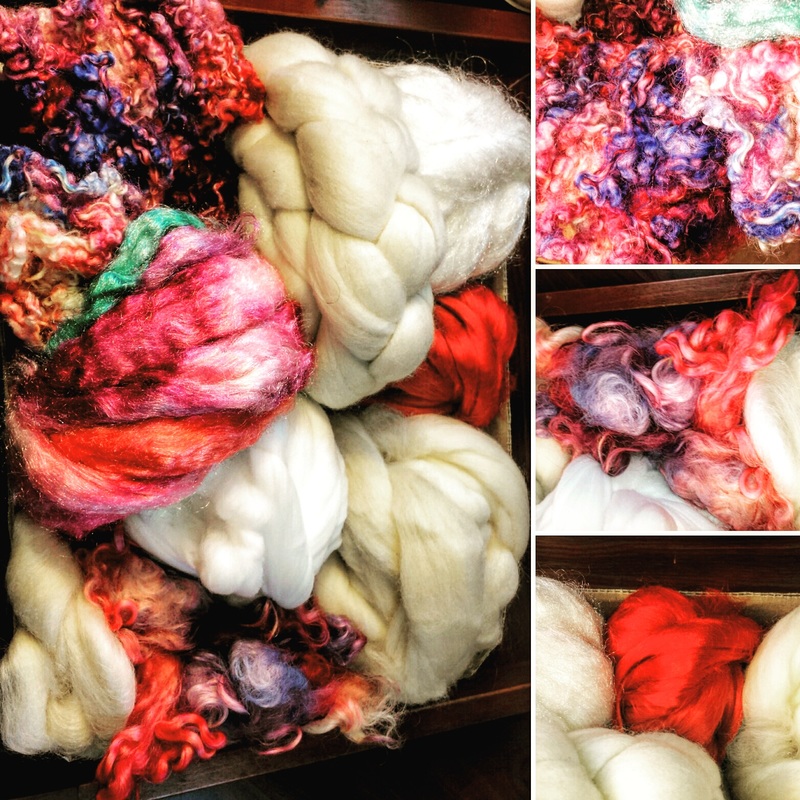
How to Dry a Lot in a Little Space...
Over the Years, I have went through several different ways of drying fiber. Originally, I started with screens over a wood stove, which worked really well but were super inefficient when it came to conserving space. Eventually,I heard about someone using OTD (Over The Door) Sweater Drying Racks... So I bought one (on sale for $3 and some change). One was all I needed at the time since I only processed small amount of fiber, pretty much a Newb!
When I grew serious about Fiber and the Art of Fiber Processing, I bought another OTD Rack... Then, we moved to a house where the 2nd Bedroom was pretty small and only had 1 usable door but the door was in the most inconvenient place for a drying rack. So it didn't work, though, there was a large closet but it had sliding doors, which are not so good for OTD Racks. My dilemma was I didn't have a place in my Fiber Studio for my racks. All through that house there was only ONE DOOR!! that was capable of holding my Drying Racks without huge, super waste of space! Plus, I had 2 racks.... I needed both of them. I almost always have full drying racks now.
Meet SPOOK! His is my baby! Almost 2 years old. Raised his momma.. so he's been with me pretty much all his life! For the Fiber Lovers: He thinks it's his hammock!!!
My Little Guy has decided to hang out on the Drying Rack!!
How to Dry a Lot in a Little Space...
Over the Years, I have went through several different ways of drying fiber. Originally, I started with screens over a wood stove, which worked really well but were super inefficient when it came to conserving space. Eventually,I heard about someone using OTD (Over The Door) Sweater Drying Racks... So I bought one (on sale for $3 and some change). One was all I needed at the time since I only processed small amount of fiber, pretty much a Newb!
When I grew serious about Fiber and the Art of Fiber Processing, I bought another OTD Rack... Then, we moved to a house where the 2nd Bedroom was pretty small and only had 1 usable door but the door was in the most inconvenient place for a drying rack. So it didn't work, though, there was a large closet but it had sliding doors, which are not so good for OTD Racks. My dilemma was I didn't have a place in my Fiber Studio for my racks. All through that house there was only ONE DOOR!! that was capable of holding my Drying Racks without huge, super waste of space! Plus, I had 2 racks.... I needed both of them. I almost always have full drying racks now.
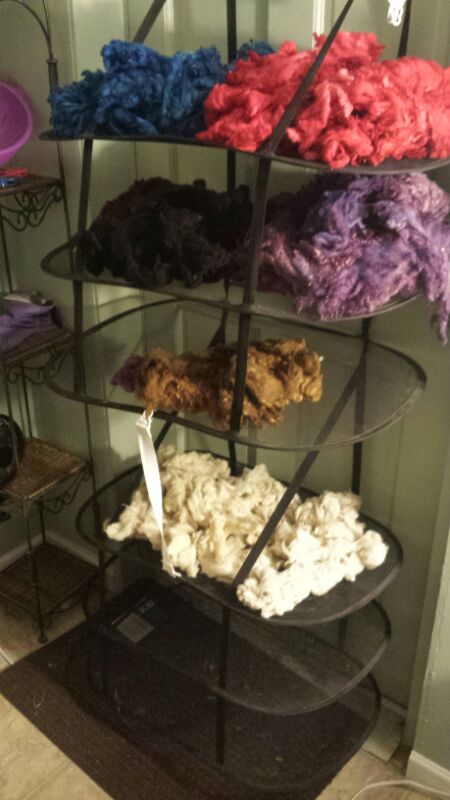
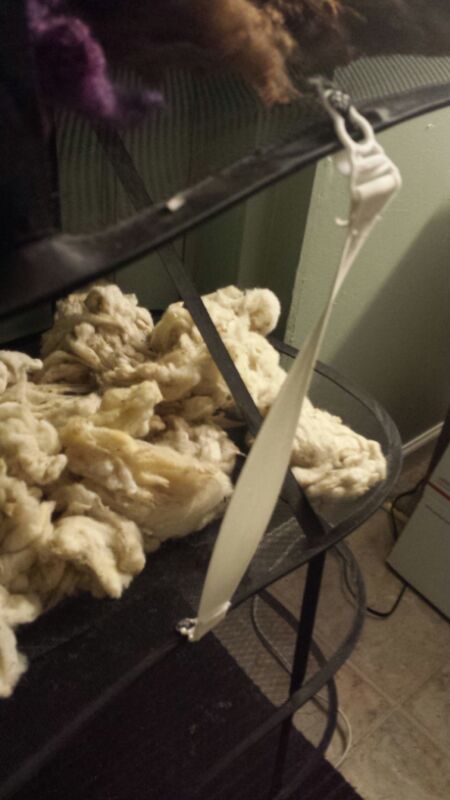
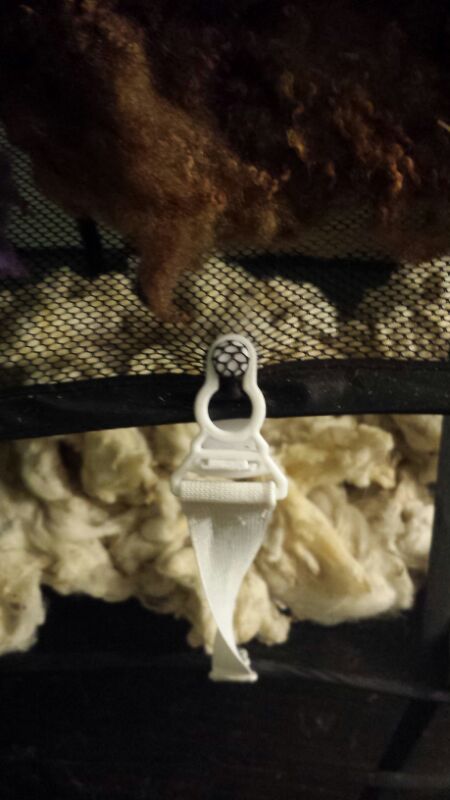
So, I ended up tiying the Racks together. After trial and error, I found that using Twist Tie worked like a charm. Easy to tear down and easy to put back together! There was only ONE downside.. The bottom one would tend to sag if they were all full and collapse them.. But I found a Solution!
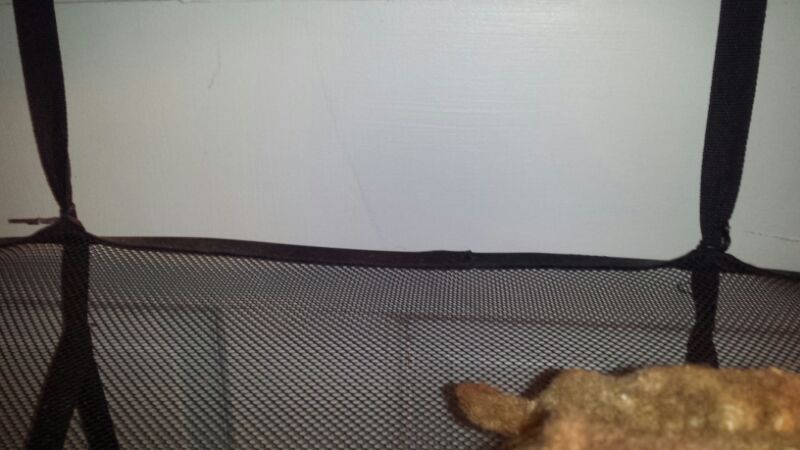
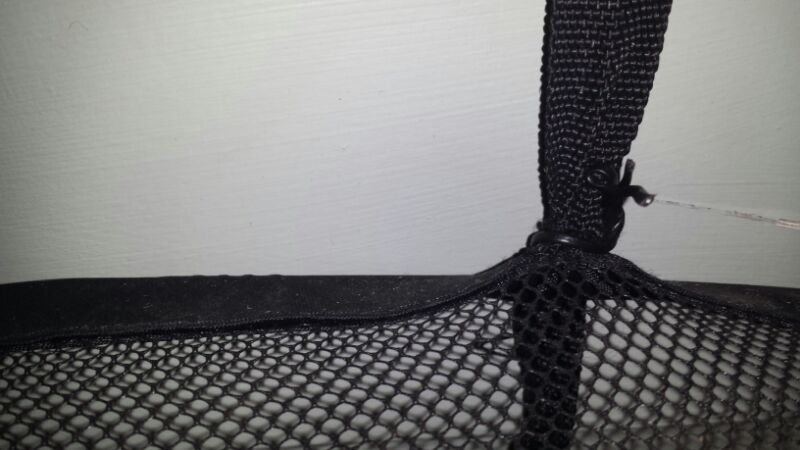
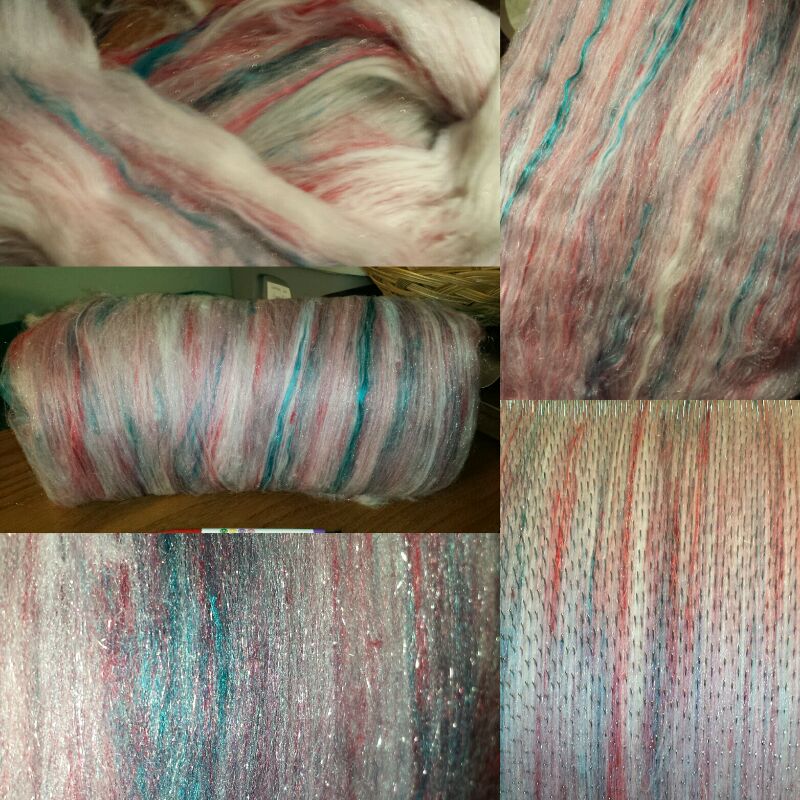
We had bought some sheet clips for a bed we had.. but then changed beds and didnt need them anymore.. So I thought "if they can hold a sheets corners togheter..) and yes after figuring out how to get them attatched and working properly... THEY WORKED!! Here are Close Ups....
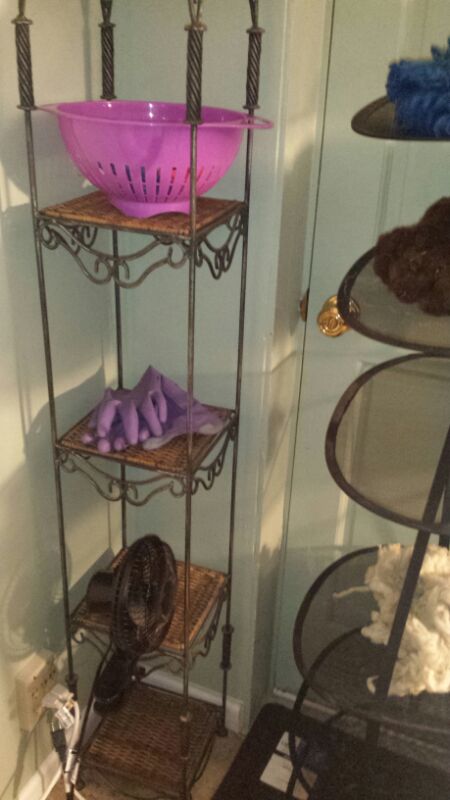
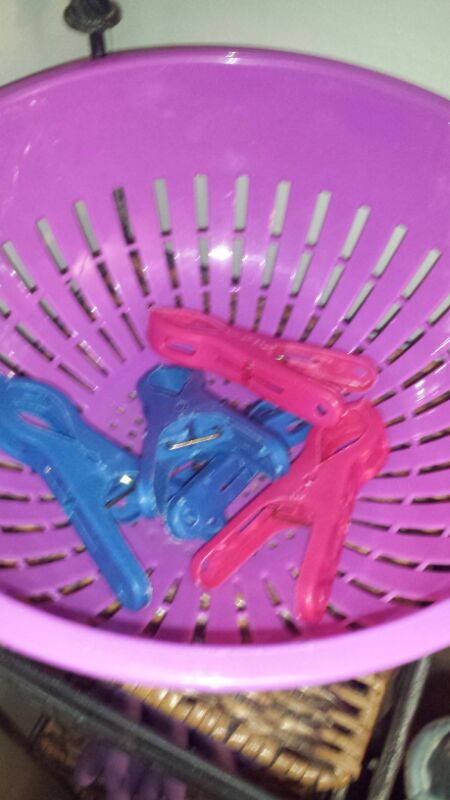
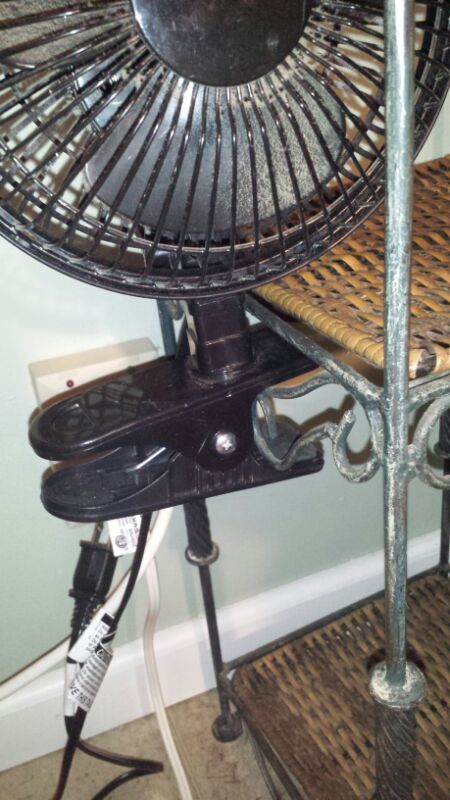
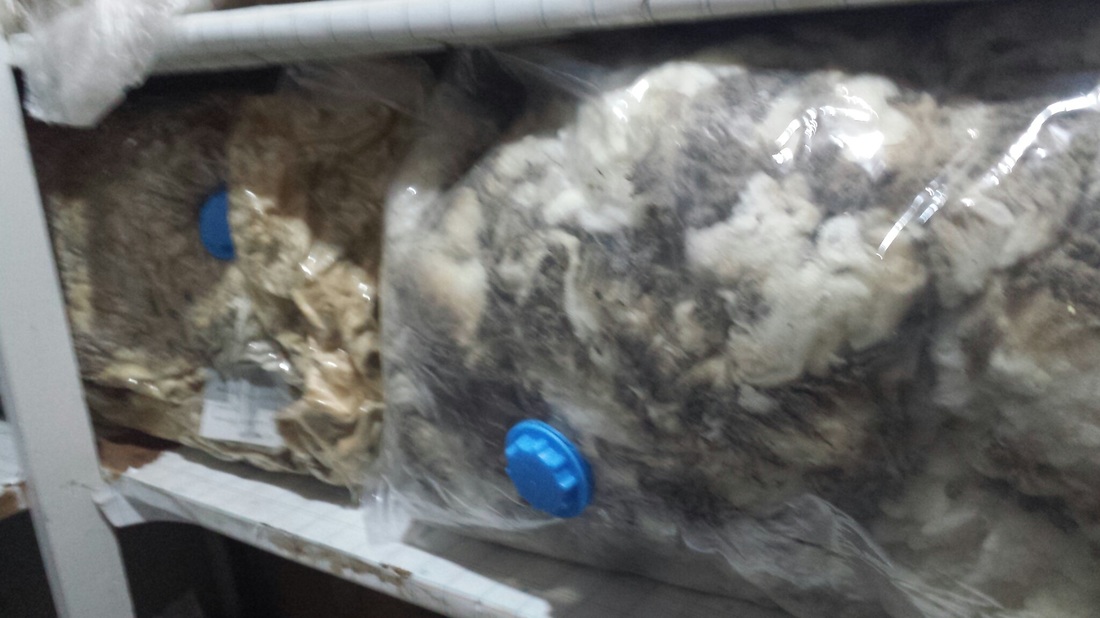
When you have a lot of fleece drying in one place.. they tend to dry slower. And I was always impatient for them to dry.. So I have a shelf with a fan clipped to the side to flow through each section I need dry. It has a clip so its easily movable! This is also where I keep my strainer I use for draining and transporting the wet fibers from the kitchen to the drying rack. My Gloves are here too. Plus I use the Strainer to hold my Clips. These are cheap clips from the dollar store which I use when I need to keep track of what is drying.
I also use a nice Doormat to catch the "run-off" and keep the floor dry.
I also use a nice Doormat to catch the "run-off" and keep the floor dry.
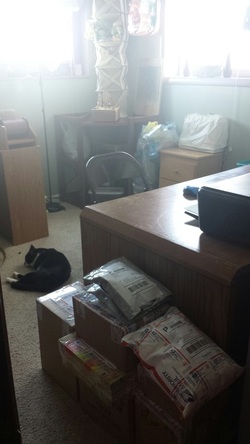
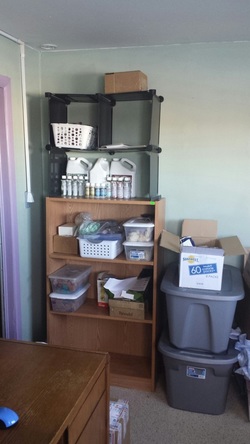
Last but not least to keep the door functional, I use a bookshelf to "Hold Space" for the Drying Rack. Please Excuse the Newly Delivered Priority Mail Boxes.
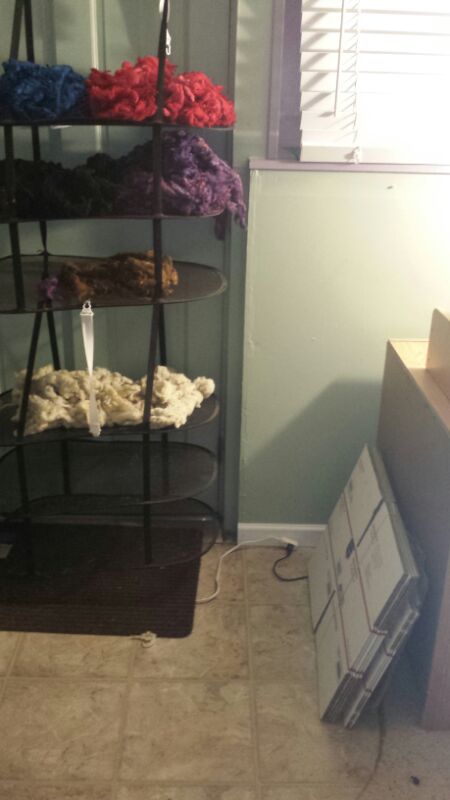
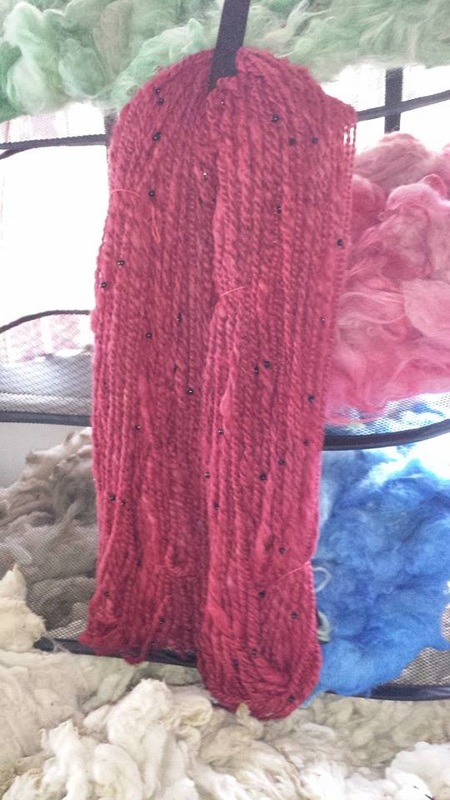
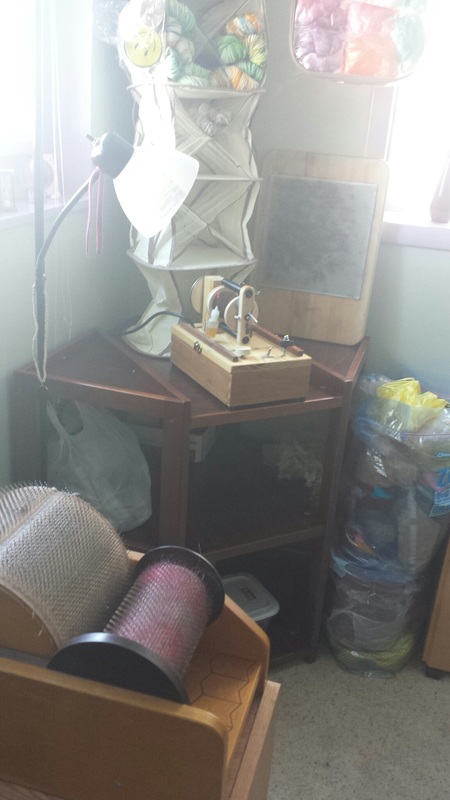
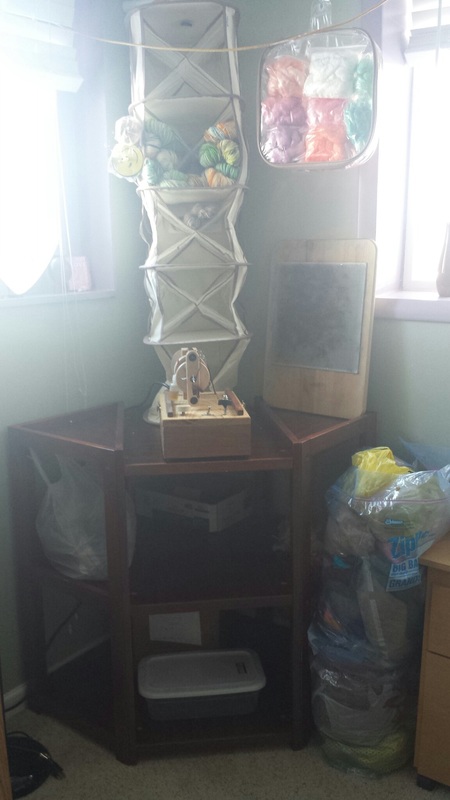
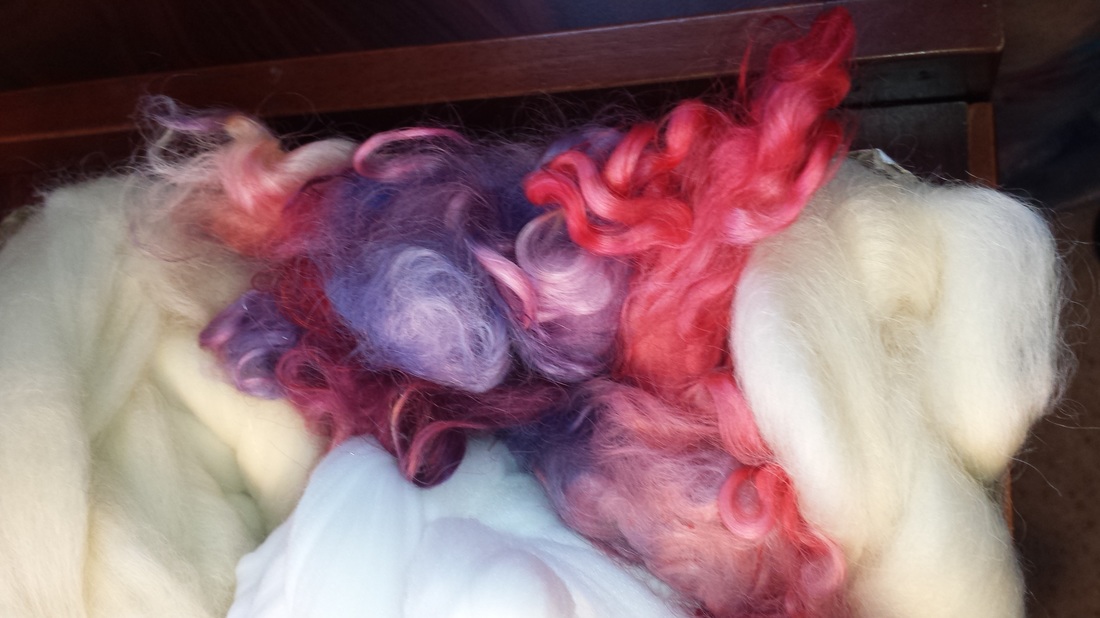
You can also hang a ton of yarns over them too!
I've been asked, "Where did you get those racks!?!?" I hate to say it.. but I bought them at Walmart in the Laundry Section.
I've been asked, "Where did you get those racks!?!?" I hate to say it.. but I bought them at Walmart in the Laundry Section.
Here is a nibble for the Next Installment of Organizing Your Fiber Studios...
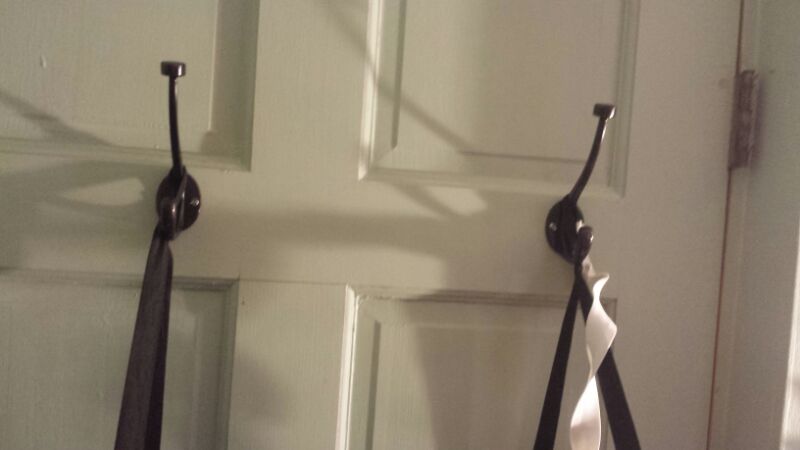
The OTD Racks come with Metal Hooks that hang over the door.. note the name. Lucky me, this door came with its own Coat Rack! I have used the Metal Hooks in a different part of the Studio along with something you would NEVER GUESS would EVER be in let alone used in a Fiber Studio...
The OTD Racks come with Metal Hooks that hang over the door.. note the name. Lucky me, this door came with its own Coat Rack! I have used the Metal Hooks in a different part of the Studio along with something you would NEVER GUESS would EVER be in let alone used in a Fiber Studio...
Thanks you so much for reading my blog! I am so new at this.. I hope you've enjoyed reading! I also hope your can take something from these posts to use in Your Fiber Studio! I know I searched and searched for information to how I might be able to organize my studio. All I found were several blog posts/articles about organizing crafts and craft-rooms.. But never anything on the Fiber Related Studio! So in this series, I will show you how I have come to organize my Studio.


 RSS Feed
